Workflows allow you to customize the handling and distribution of incoming tasks of any modality. Workflows can also handle customer interaction and manage transfers to other services. Advanced workflows react to Opening Hours and respond depending on Parameters or other actions as defined by individual Workflow Activities. In short: they are essential for bringing your service to life.
Managing Workflows
Workflows can be managed from both Nimbus Portal and Admin UI in Configuration.

In this view you can:
- Copy any existing workflow to use as base for your new edit.
- Create new workflows either from scratch or based on existing templates.
- Configure various parameters in each Workflow by editing their structure.
GOOD TO KNOW
- You can have as many workflows and types defined in your configuration as as you want. Multiple services can use the same workflow simultaneously, but a workflow can use only one workflow per modality.
- In order to have any effect, workflows need to be selected in each service's individual Service Settings.
- Workflows heavily rely on other Resources (music, sound files, announcements) organized in Playlists. Advanced features involve System Fields and Parameters and Custom Parameters. Make sure to pay those configuration areas a visit once you feel familiar with the basics.
Creating a Workflow
Nimbus comes with predefined ready-to-use Workflow Templates. You can also create your own custom templates and use them during the creation dialog.
Workflow Type
✅ This is the first step in your workflow creation.
Clicking Create New starts the workflow creation. On the first screen, you have to select the workflow type (modality):

The workflow type defines for which modality the workflow can be build and used for.
💡Note that the selection of workflow types depends on Nimbus Features enabled on your Tenant.
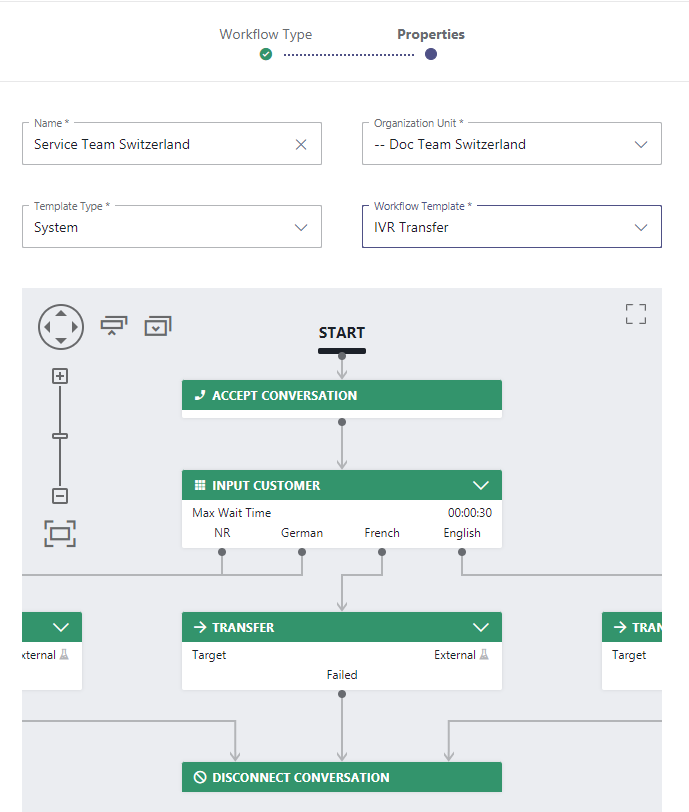
Workflow Properties
✅ This is the second step in your workflow creation.

-
Pick a "Name" for your workflow .
💡 This name can be freely chosen and will appear in other listings and selection dialogs. You can also change this name later. -
Pick an Organization Unit (OU) where your workflow will be placed in.
💡 This determines where your workflow will be later visible in selection dialogs, e.g. Service Settings. You can also change this later. -
Pick a Template Type.
⮑ A preview of the template will be shown in the area below. There are two types of Workflow Templates:
| System Templates |
Provided by Luware, system templates are a good a starting point for new workflows. 🔍 The available options inside these templates may make use of Enterprise Routing or Contact Center licensed Nimbus Features. You can freely build up on these templates, but workflow activities inside may be limited by your service license. Check the list of Workflow Activities to see which activity requires special licensing. |
|---|---|
| Custom Templates |
Custom templates are workflows created by either you or other administrators. 🔍 These templates follow inheritance rules, meaning that later changes on a template will affect your "children" workflows. If you want to work independently, start with a system or blank template. |
- When you are all set, click "Create" and start with Workflow Editing.
RELATED TOPICS
🤔 Already familiar with editing workflows? Head right to the Workflow Activities page as a reference point and start building your own custom workflow from scratch.
💡 You can find more tips and tricks in our Use Cases related to Workflows here:
✅ Finished? Once you are done with your workflow, don't forget to select and apply it in your Service Settings. We recommend a test call to check if everything is working as intended.